Learn how to schedule new customers from the home screen using our block scheduling style.
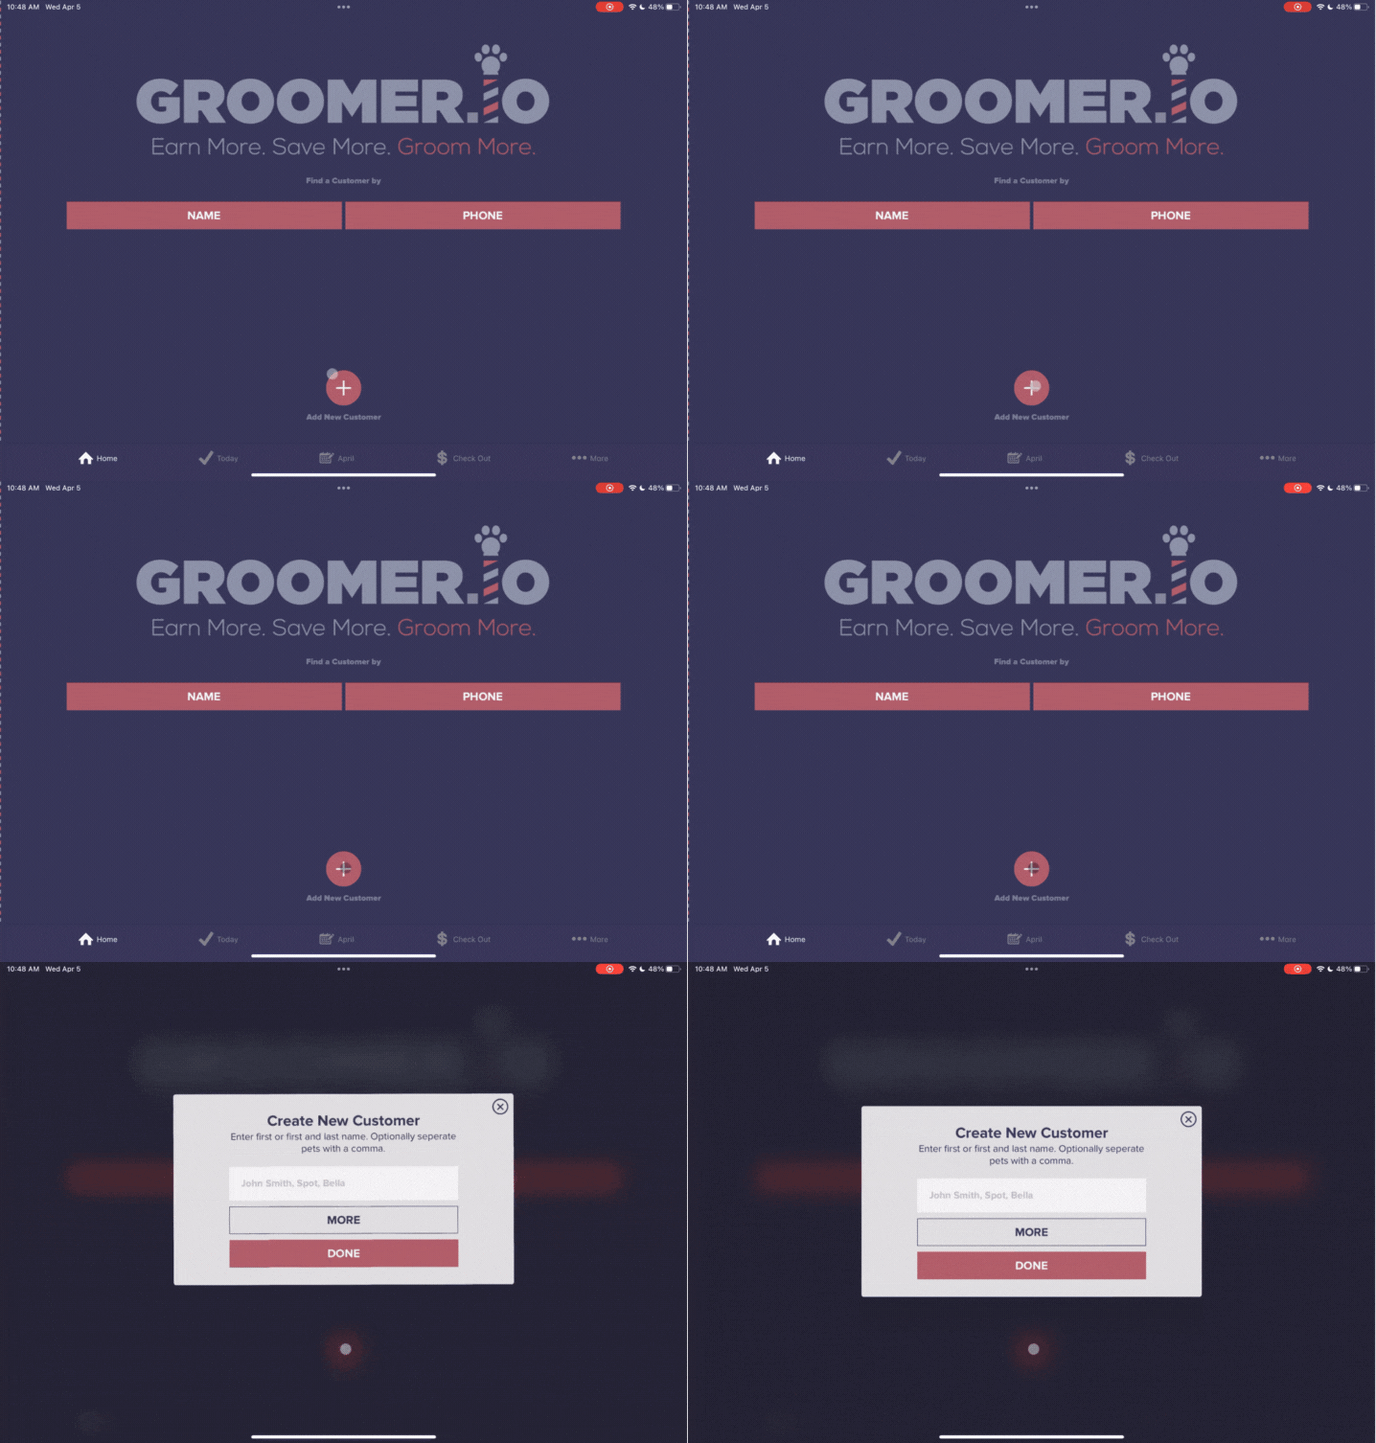
- From the home screen tap the "+" add new customer button at the bottom of the screen
- Enter the customer's name (first name, first and last name, or first name last initial) followed by a comma, then enter all pets separated by commas. Once you have added all pets, select "Done"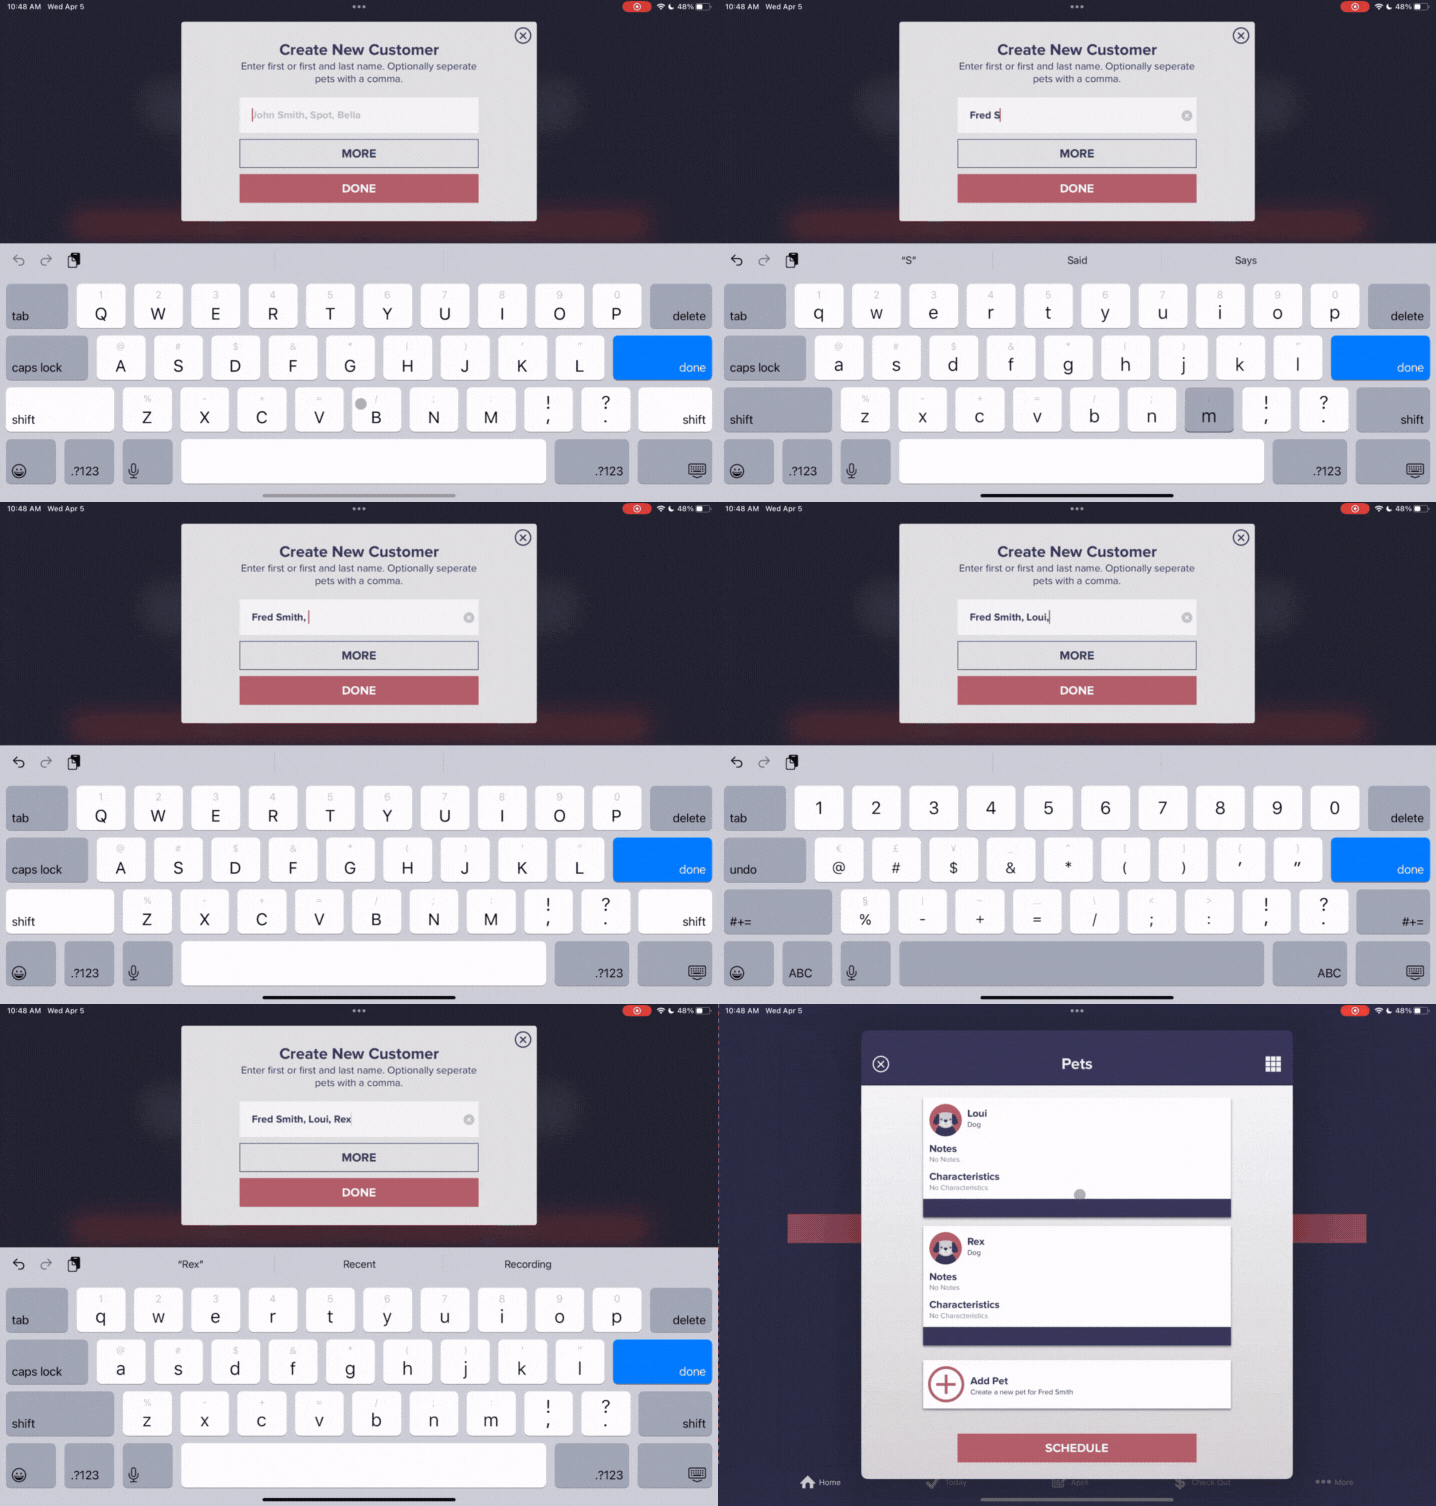
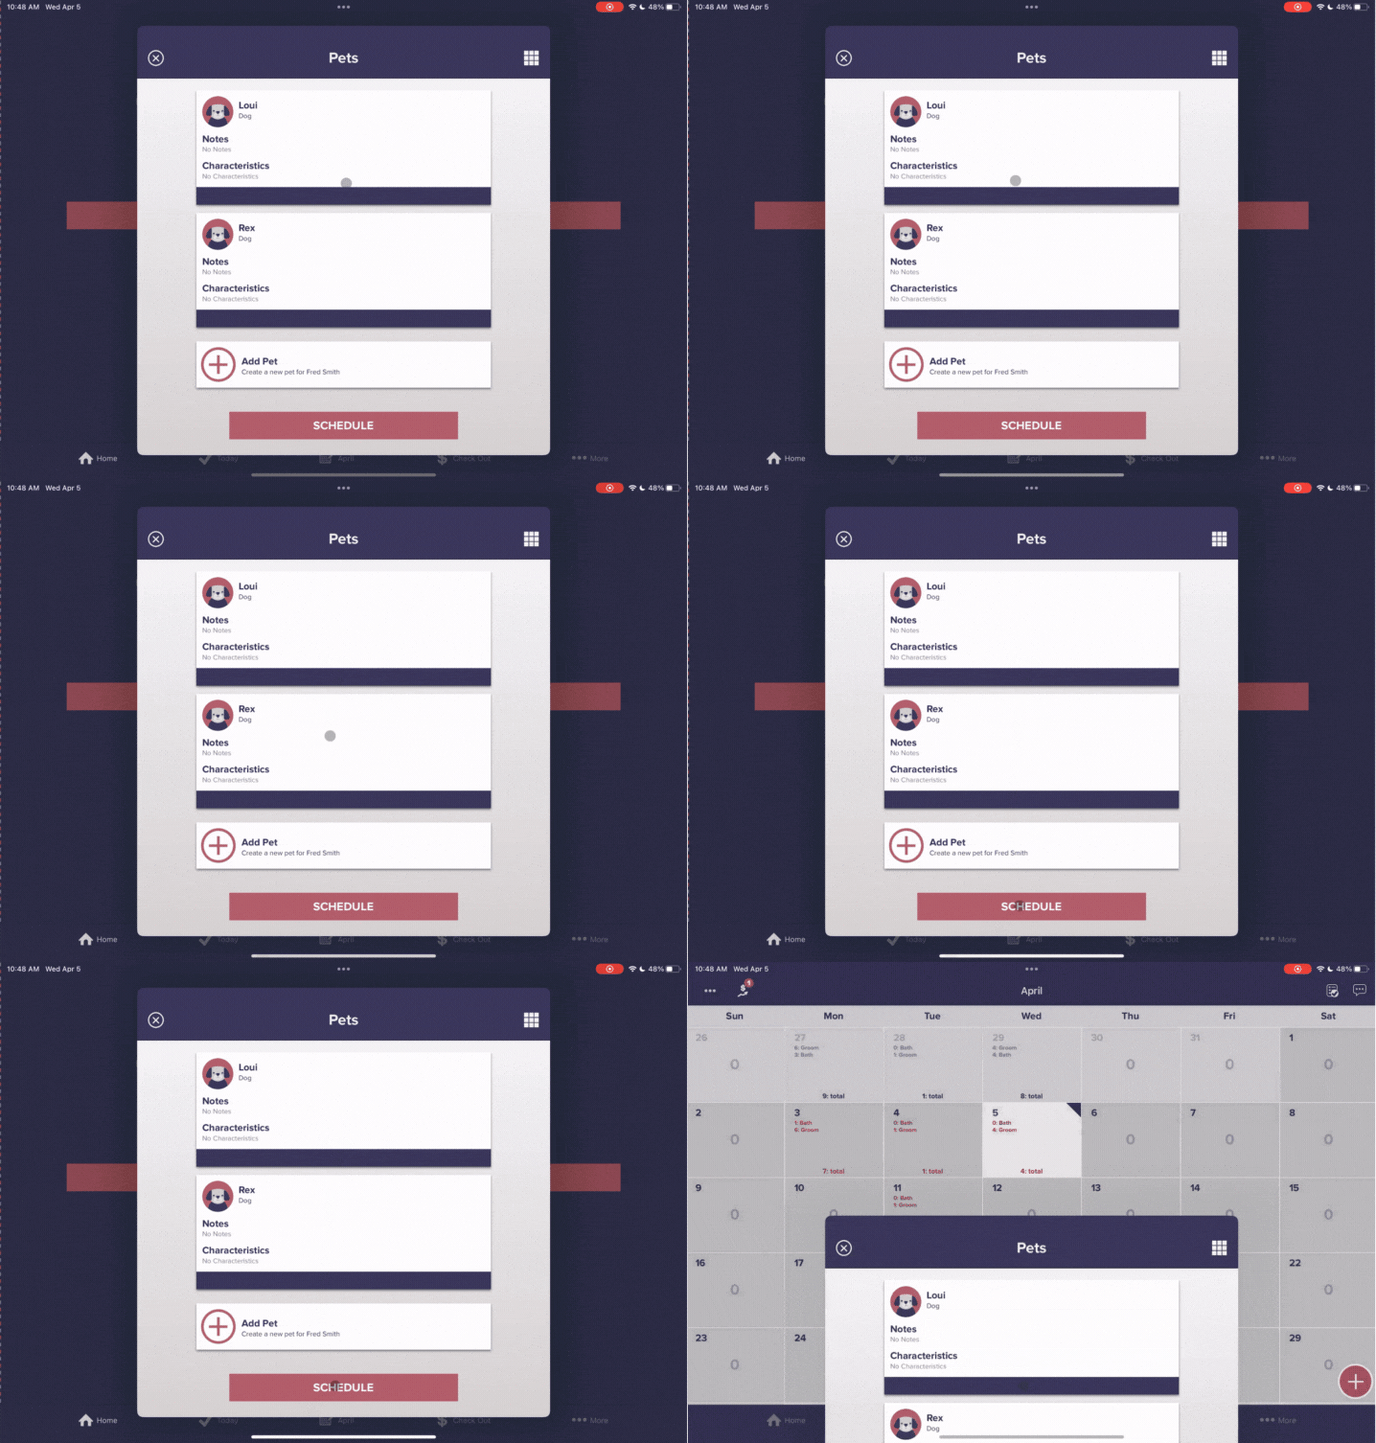
- Tap "Schedule" at the bottom of the pets page
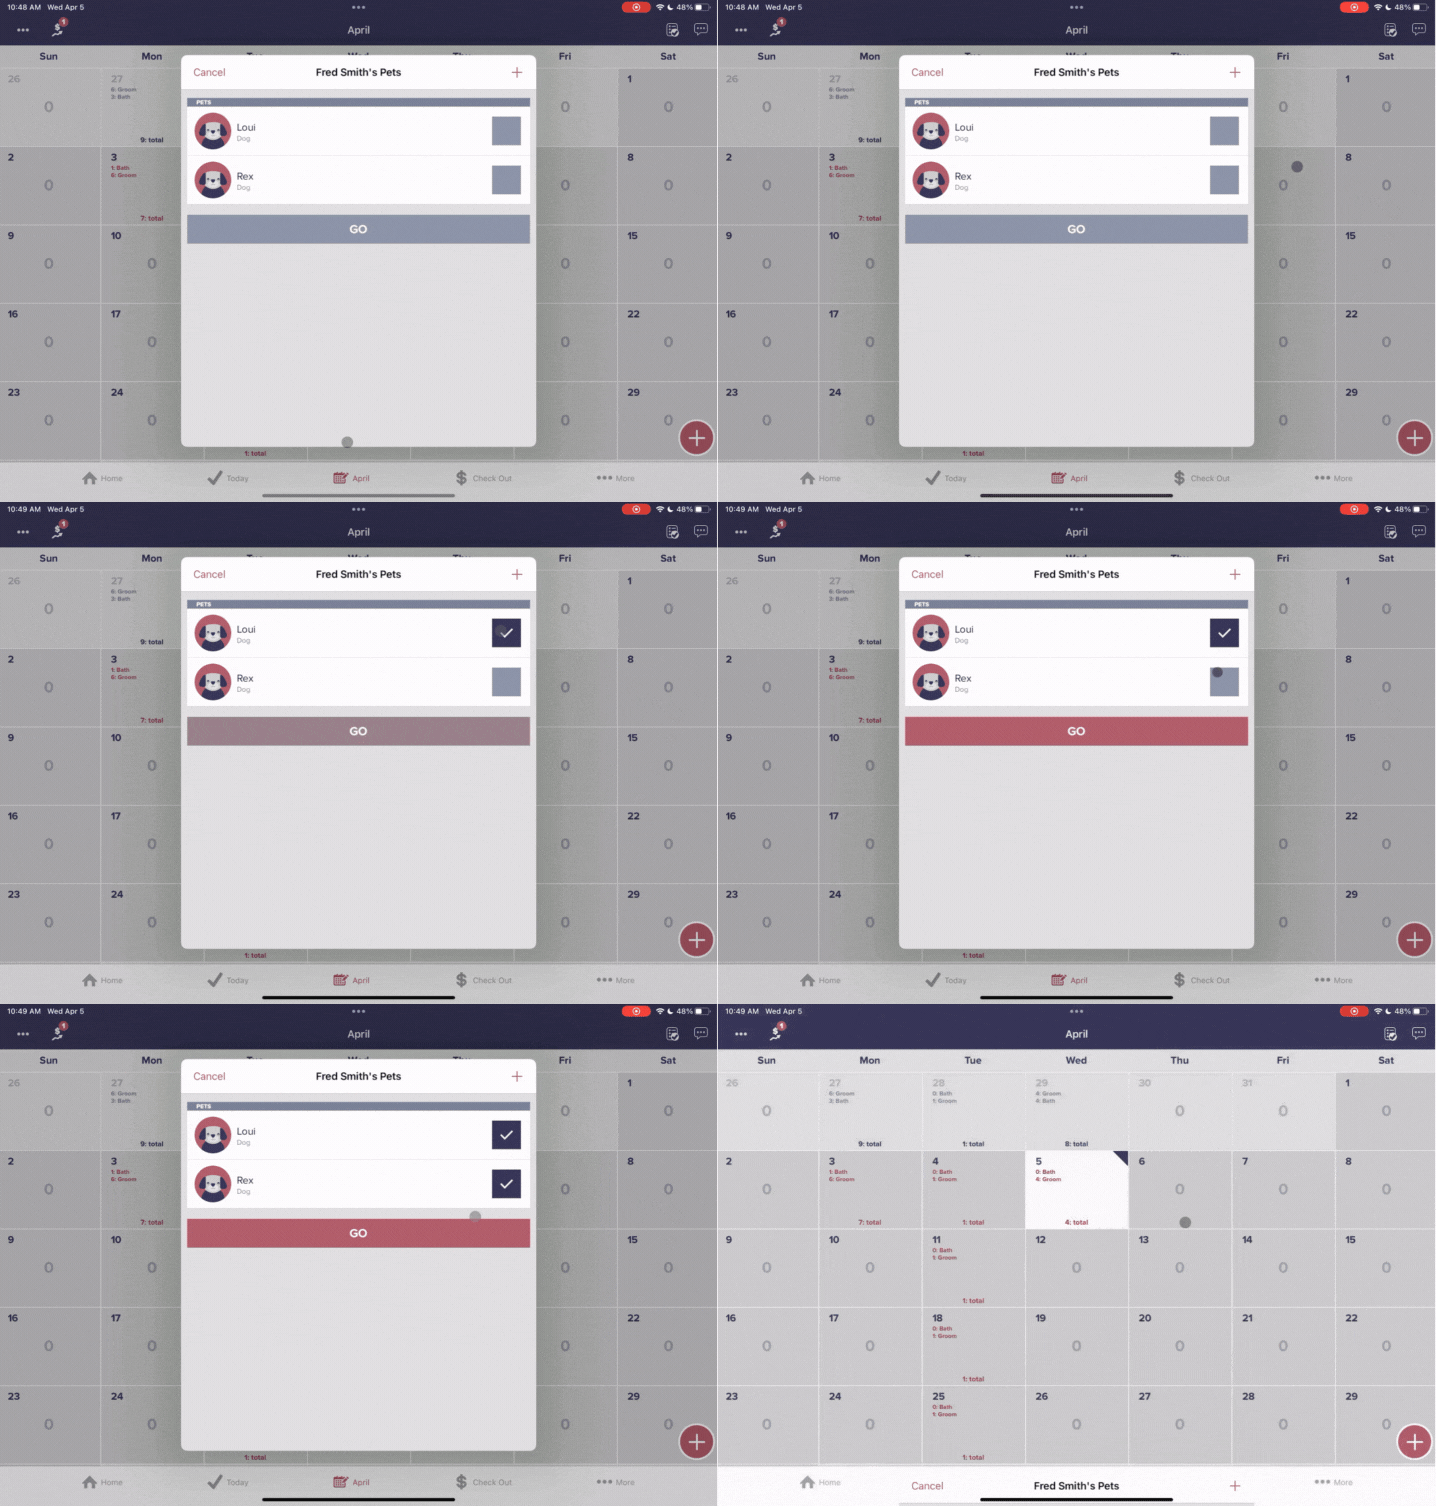
- Select which pets you would like to schedule and press "Go"
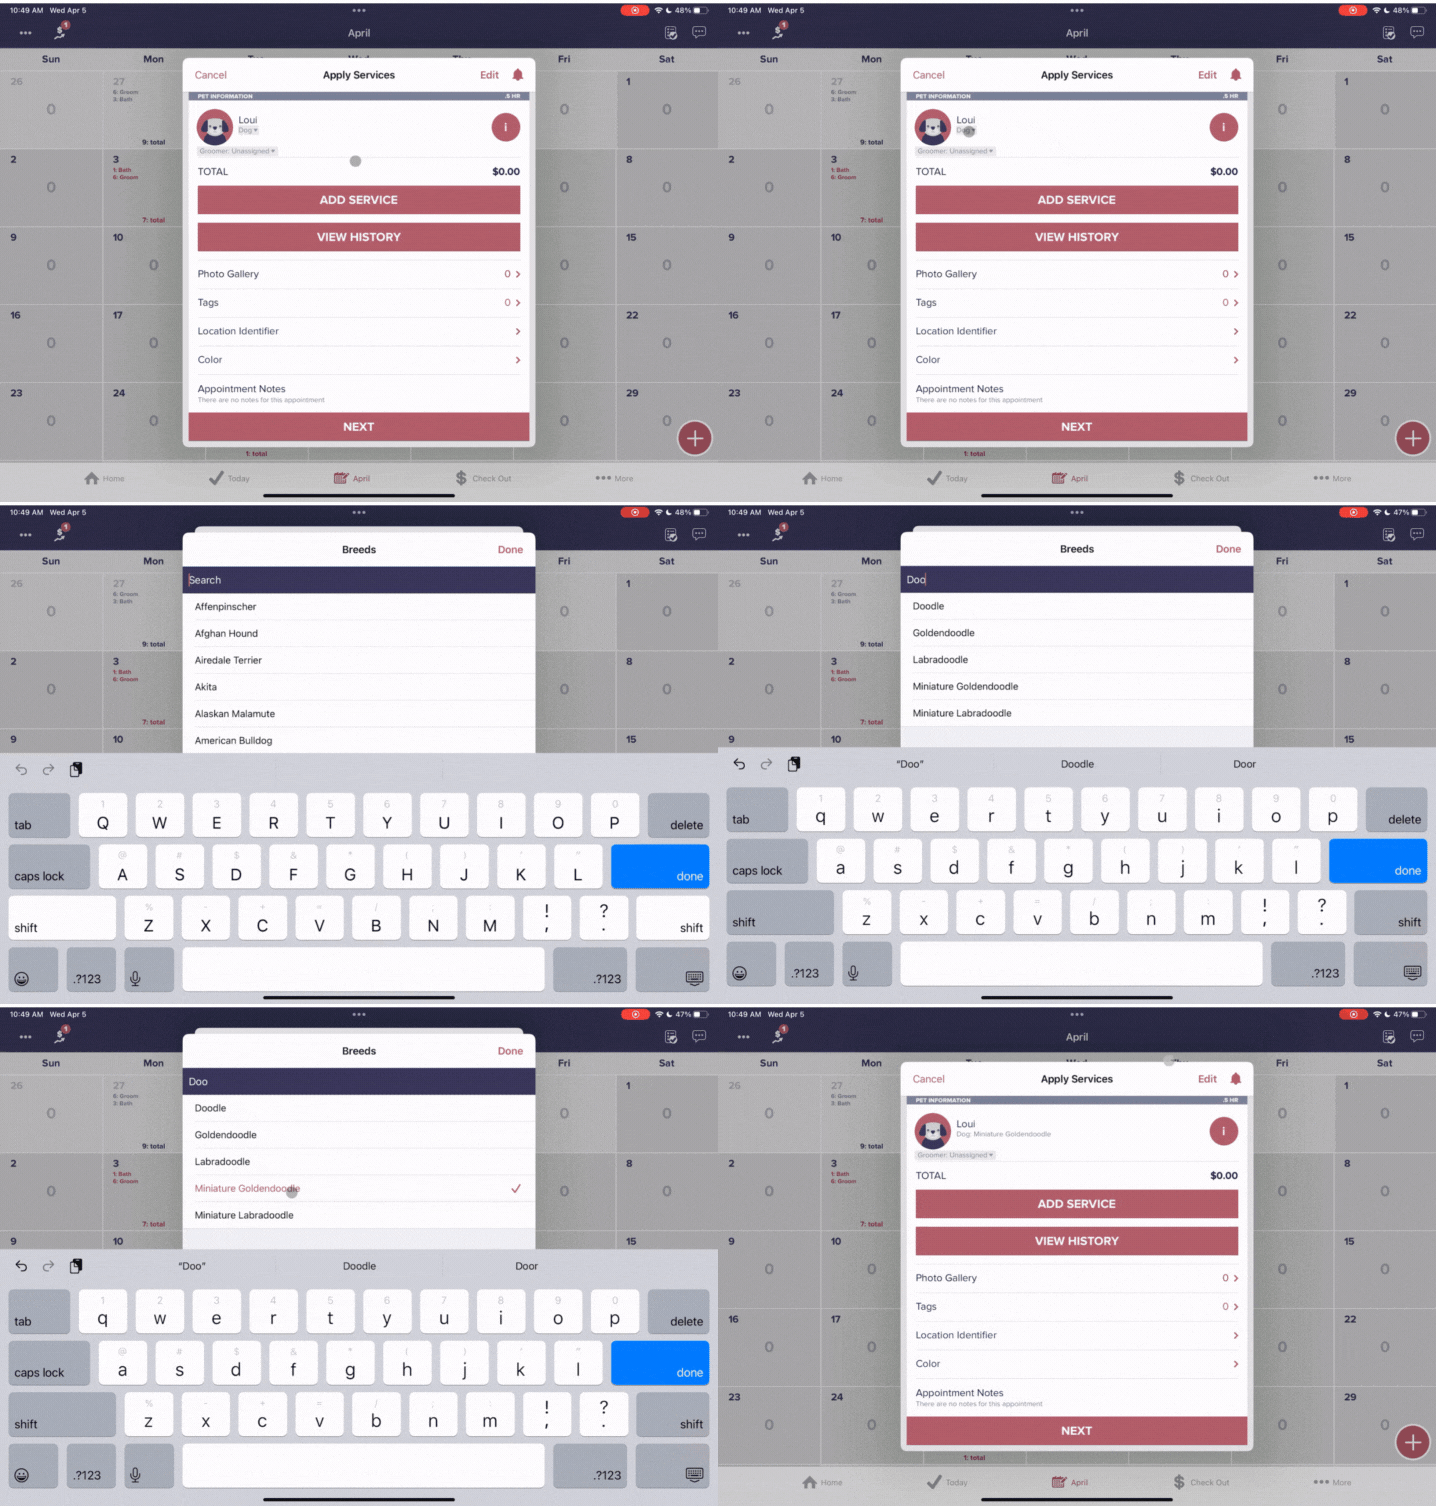
- Assign this dog a breed by tapping on "Dog" underneath the dog's name
- Add service(s) for this dog by tapping "Add Service"
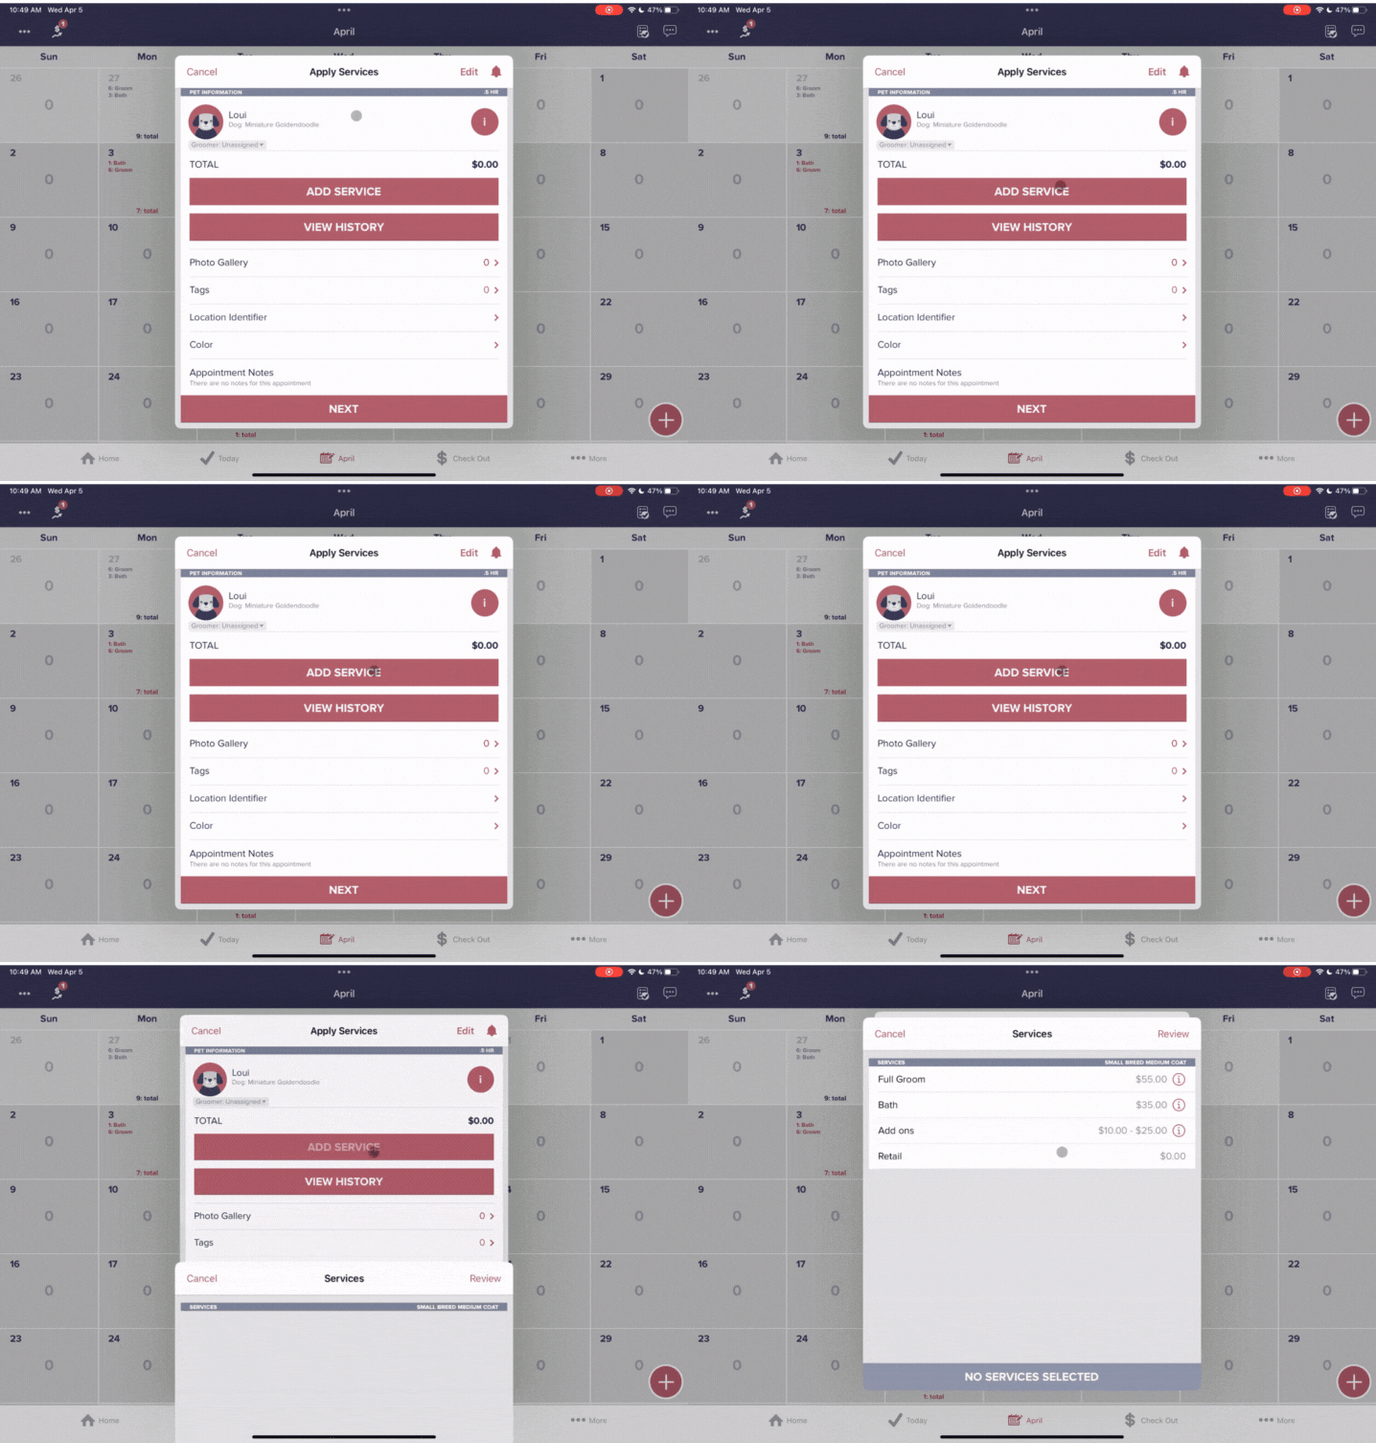
- Select which service(s) you would like to add for this pet and tap "Save"
.gif?width=688&height=481&name=loui%20service%20(1).gif)
- Add service(s) for this dog by tapping "Add Service"
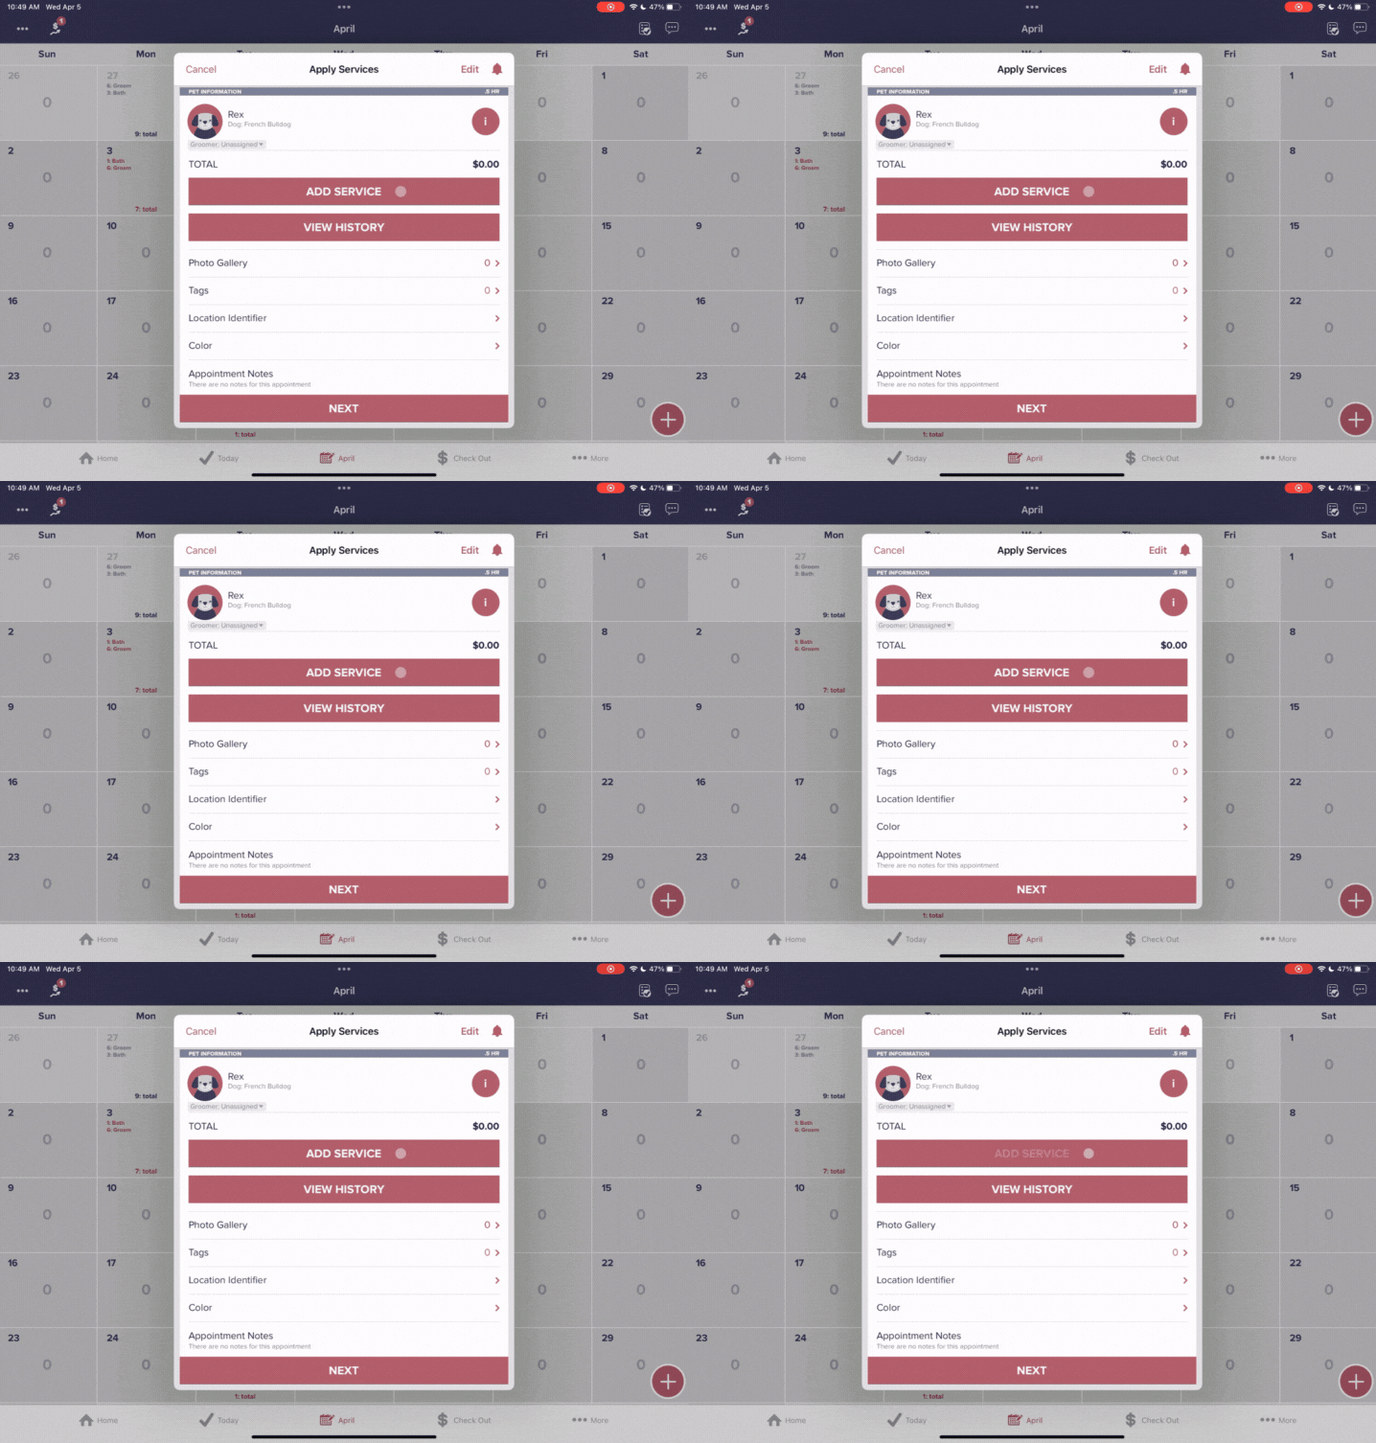
- Select which service(s) you would like to add for this pet and tap "Save"
.gif?width=688&height=481&name=rex%20select%20service%20(2).gif)
- Tap "Next"
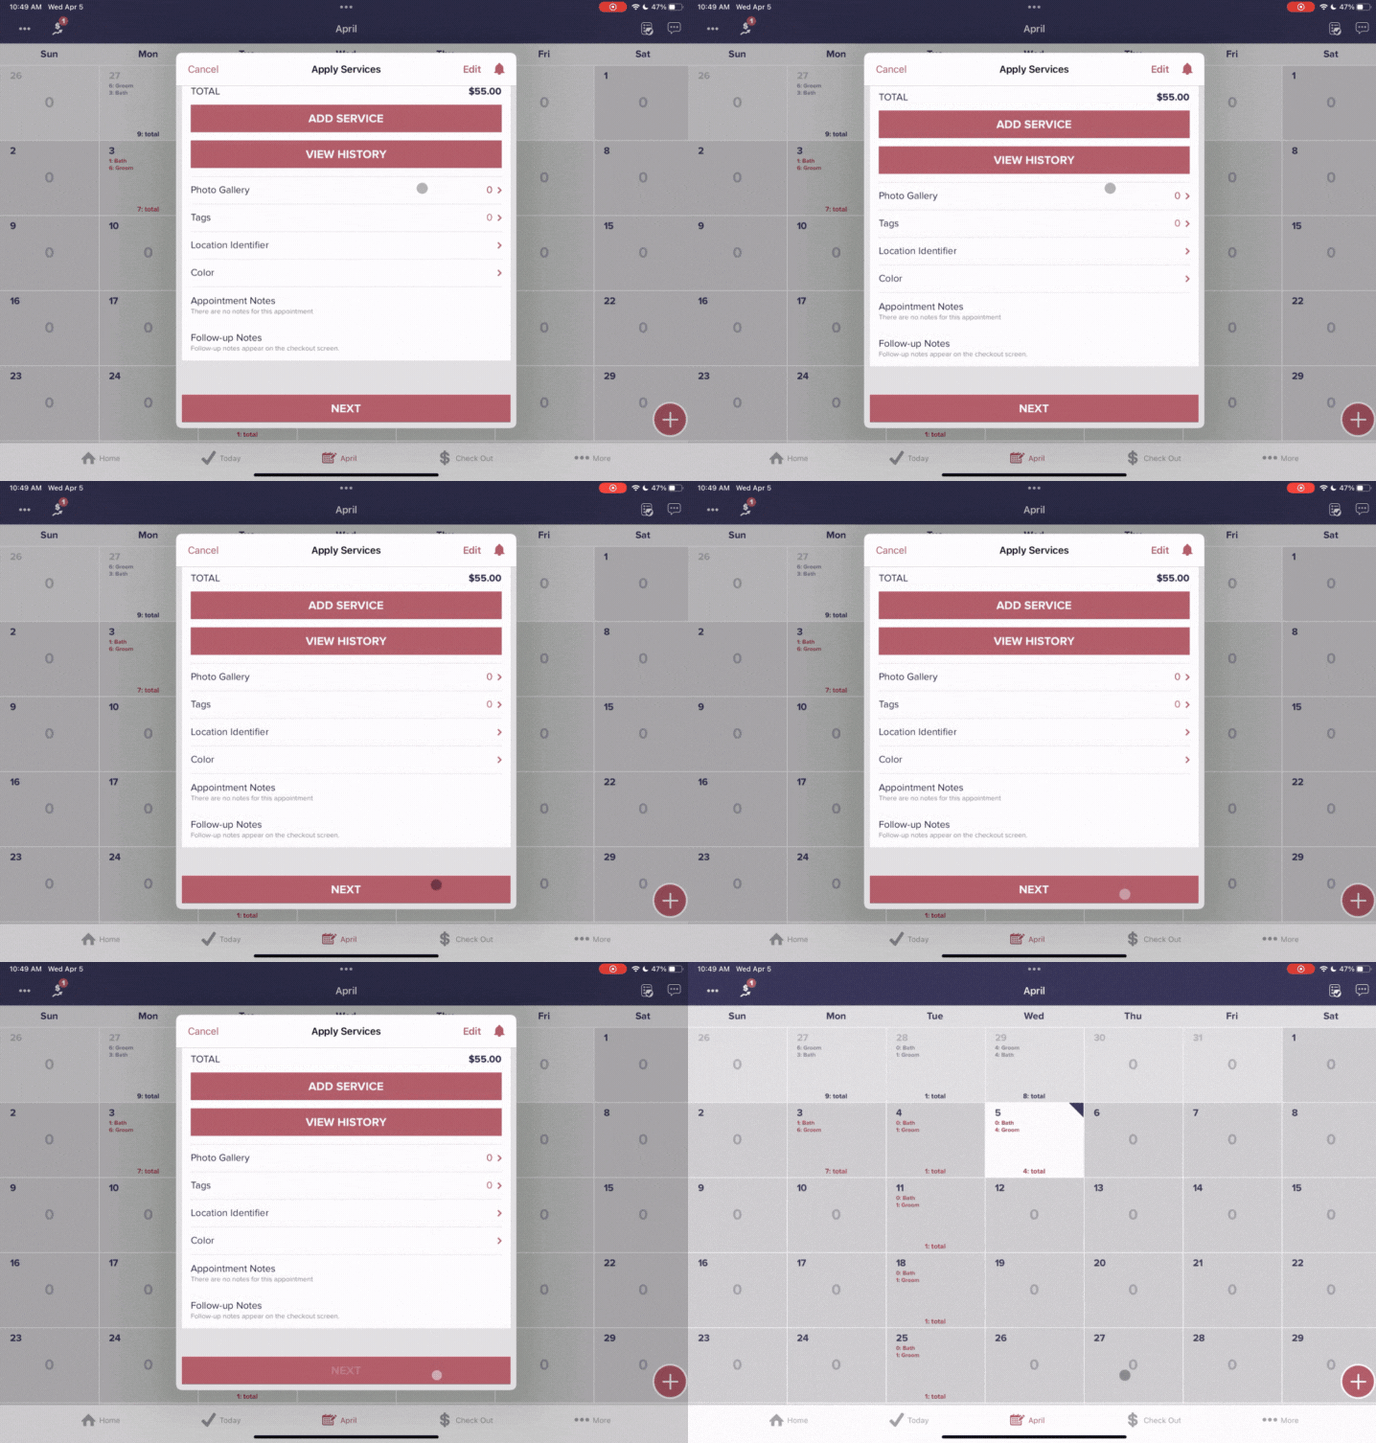
- Tap on the day you would like to schedule the pet
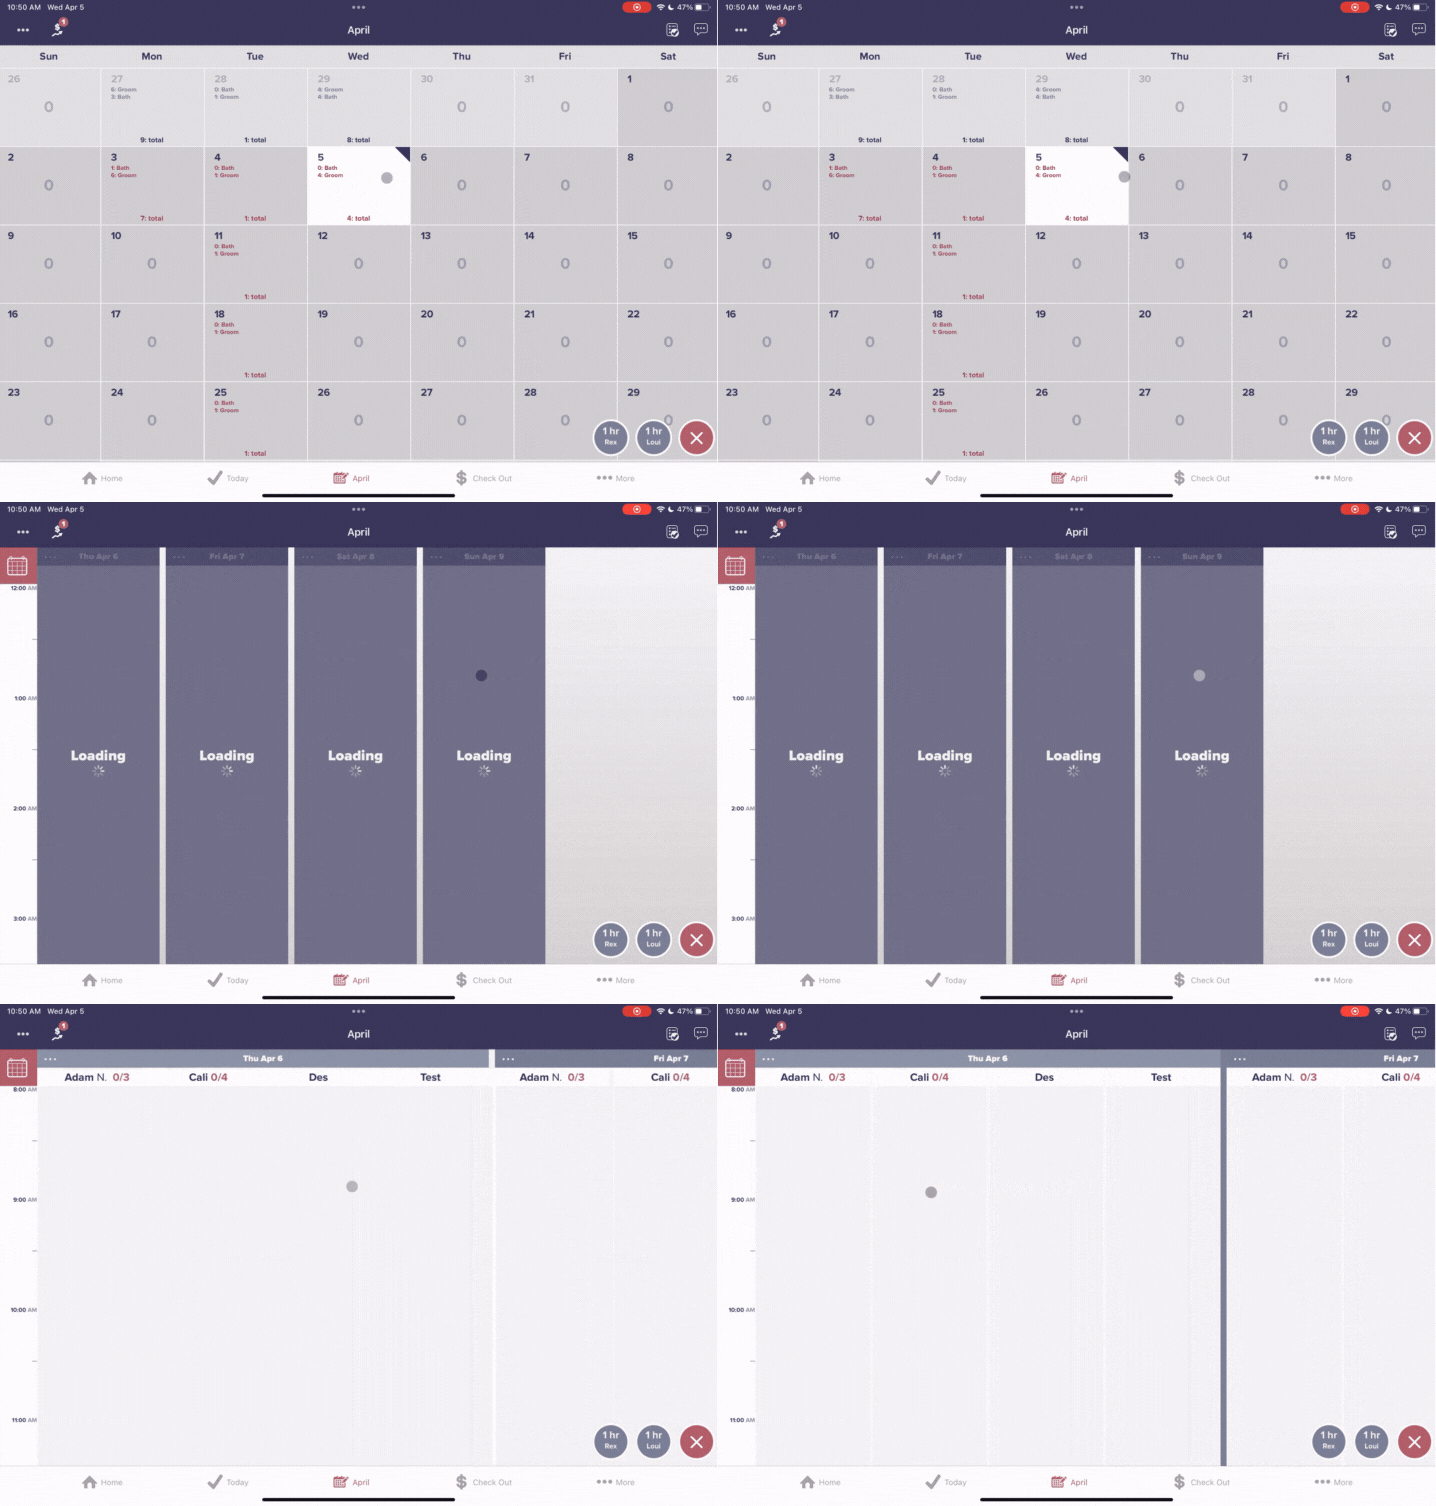
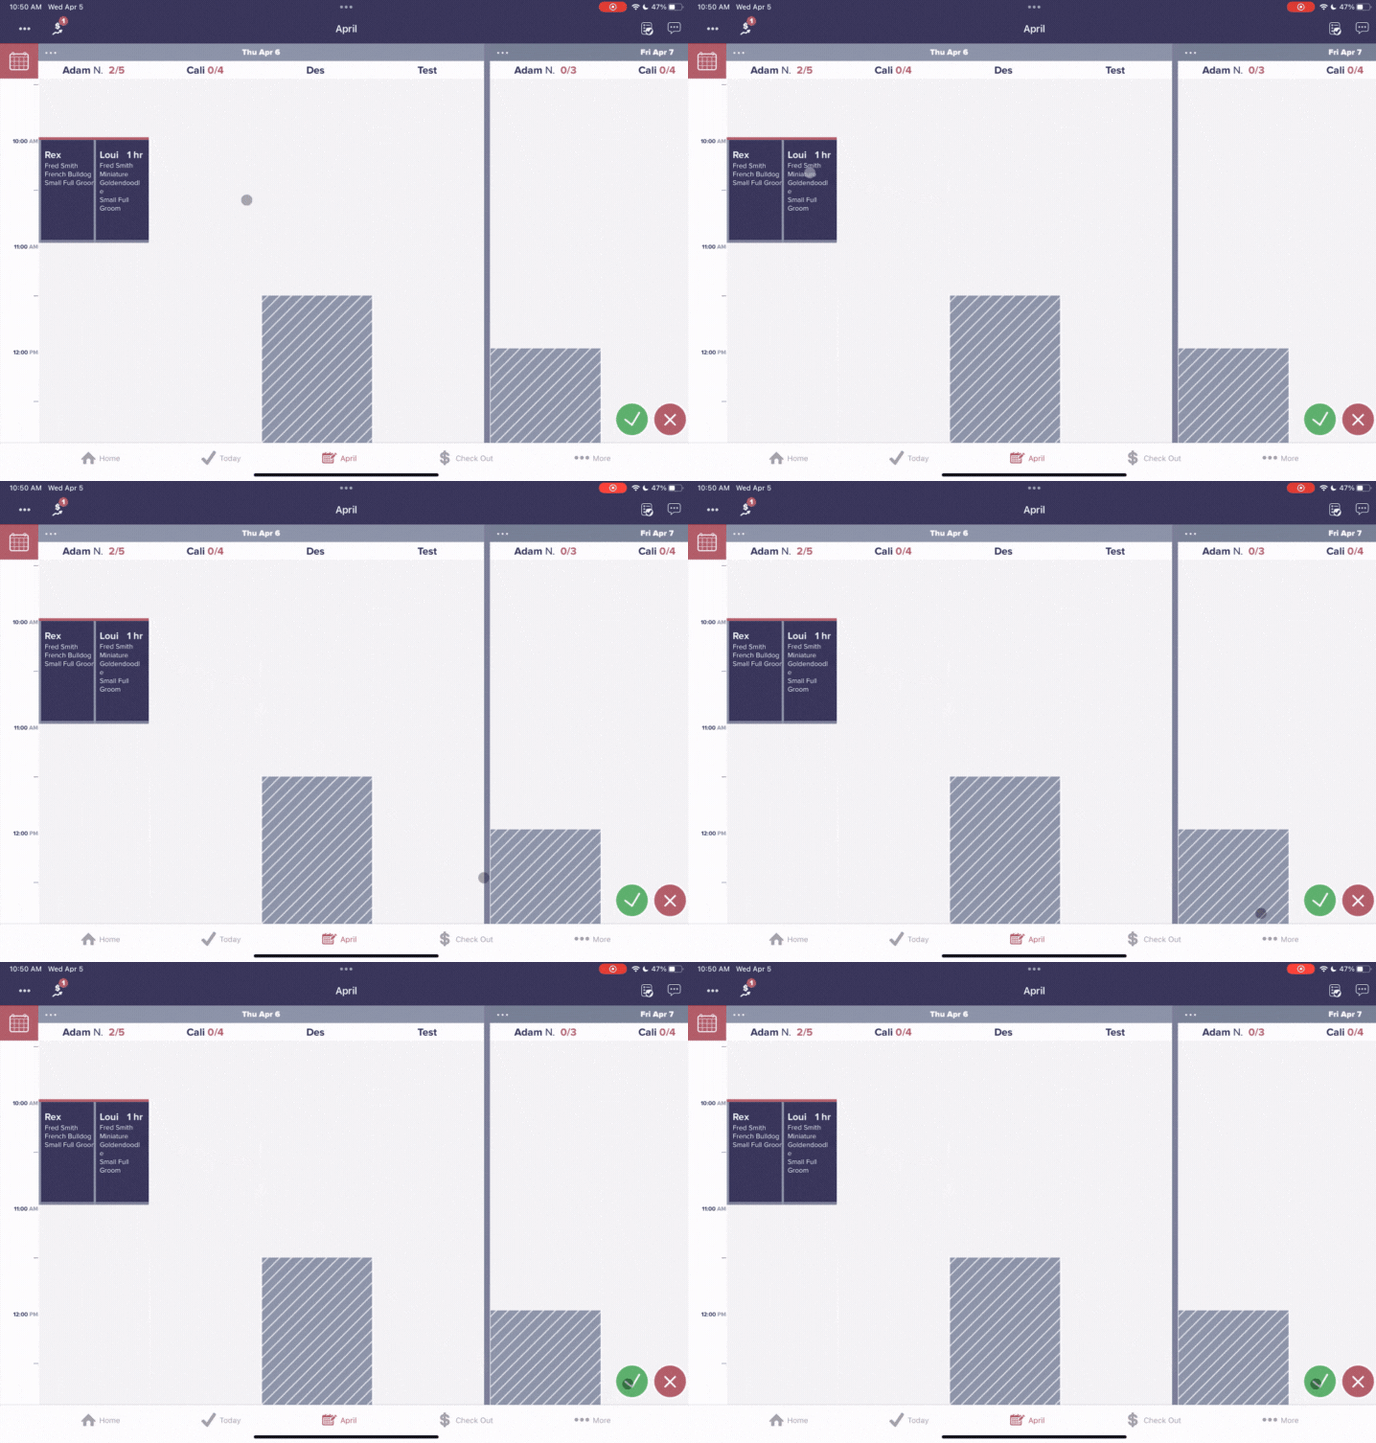
- Tap the spot on the calendar under your desired groomer for the time you would like to schedule this appointment
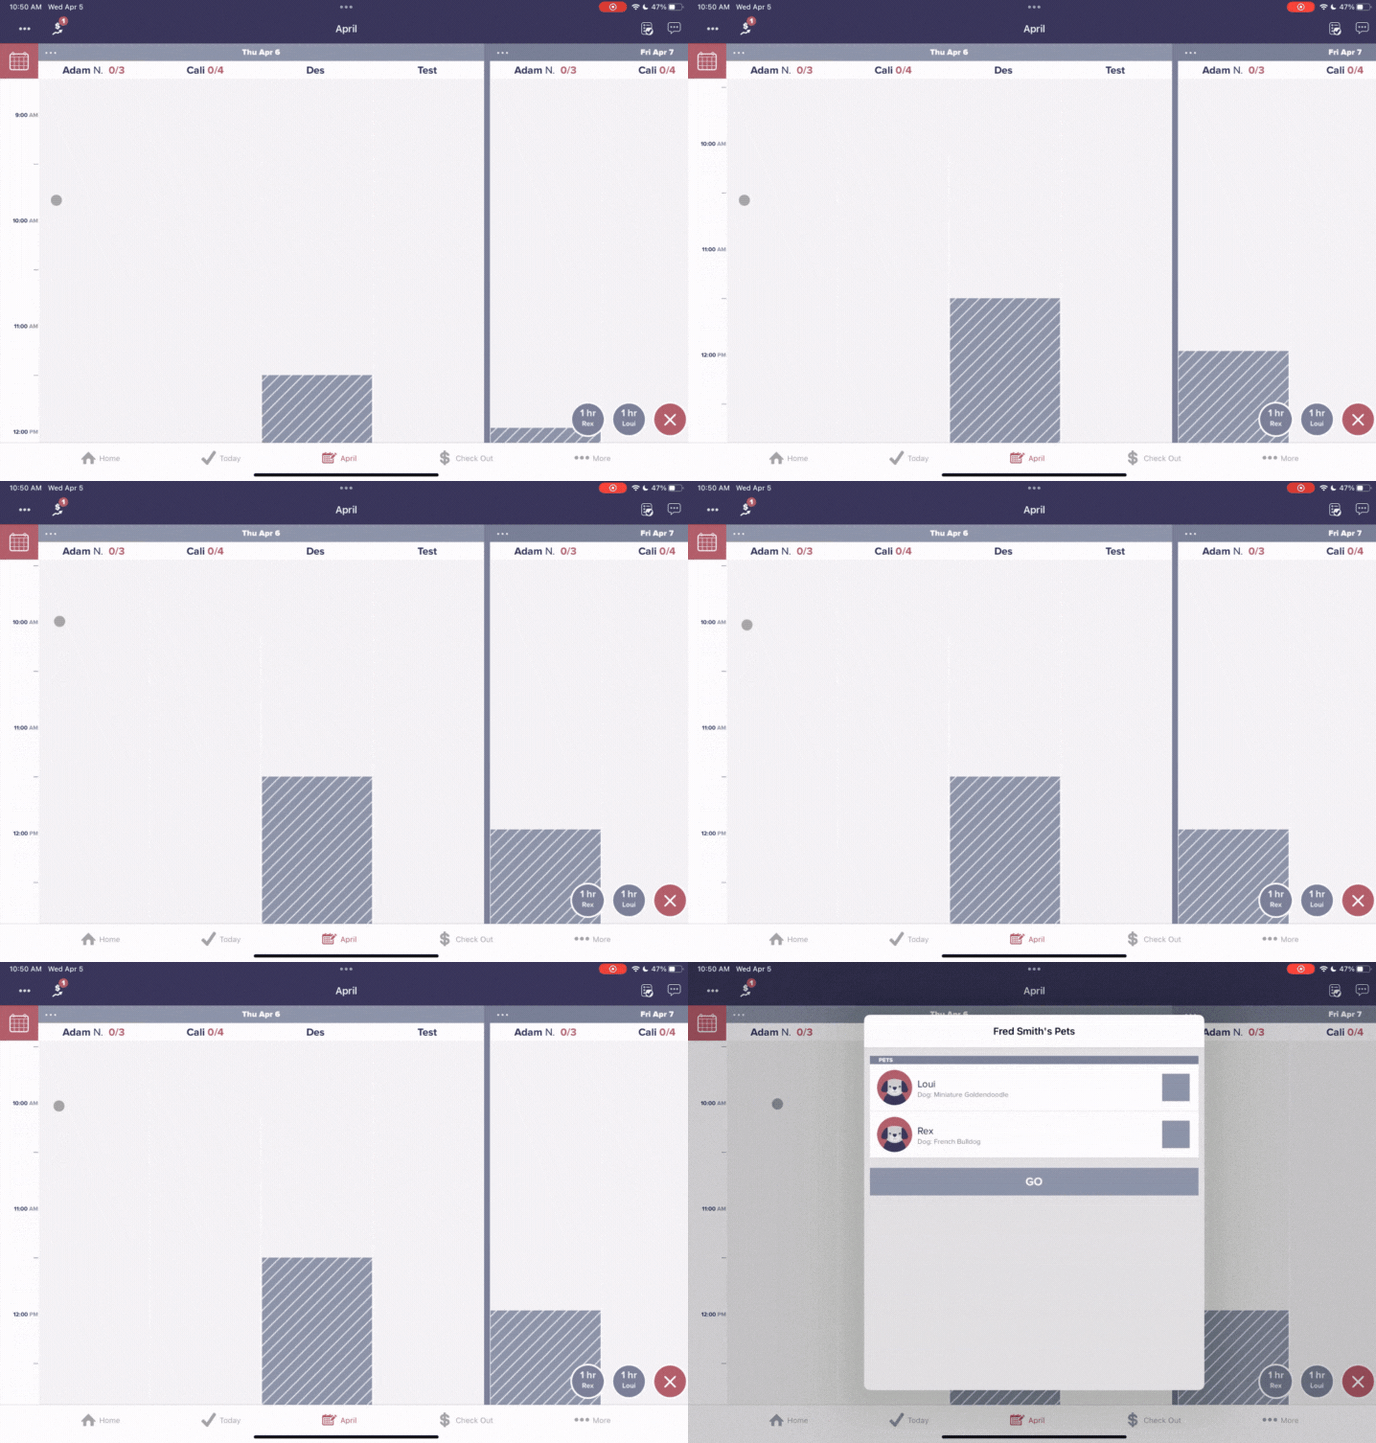
- Select which pets you would like to schedule at this time with this groomer and tap "Go"
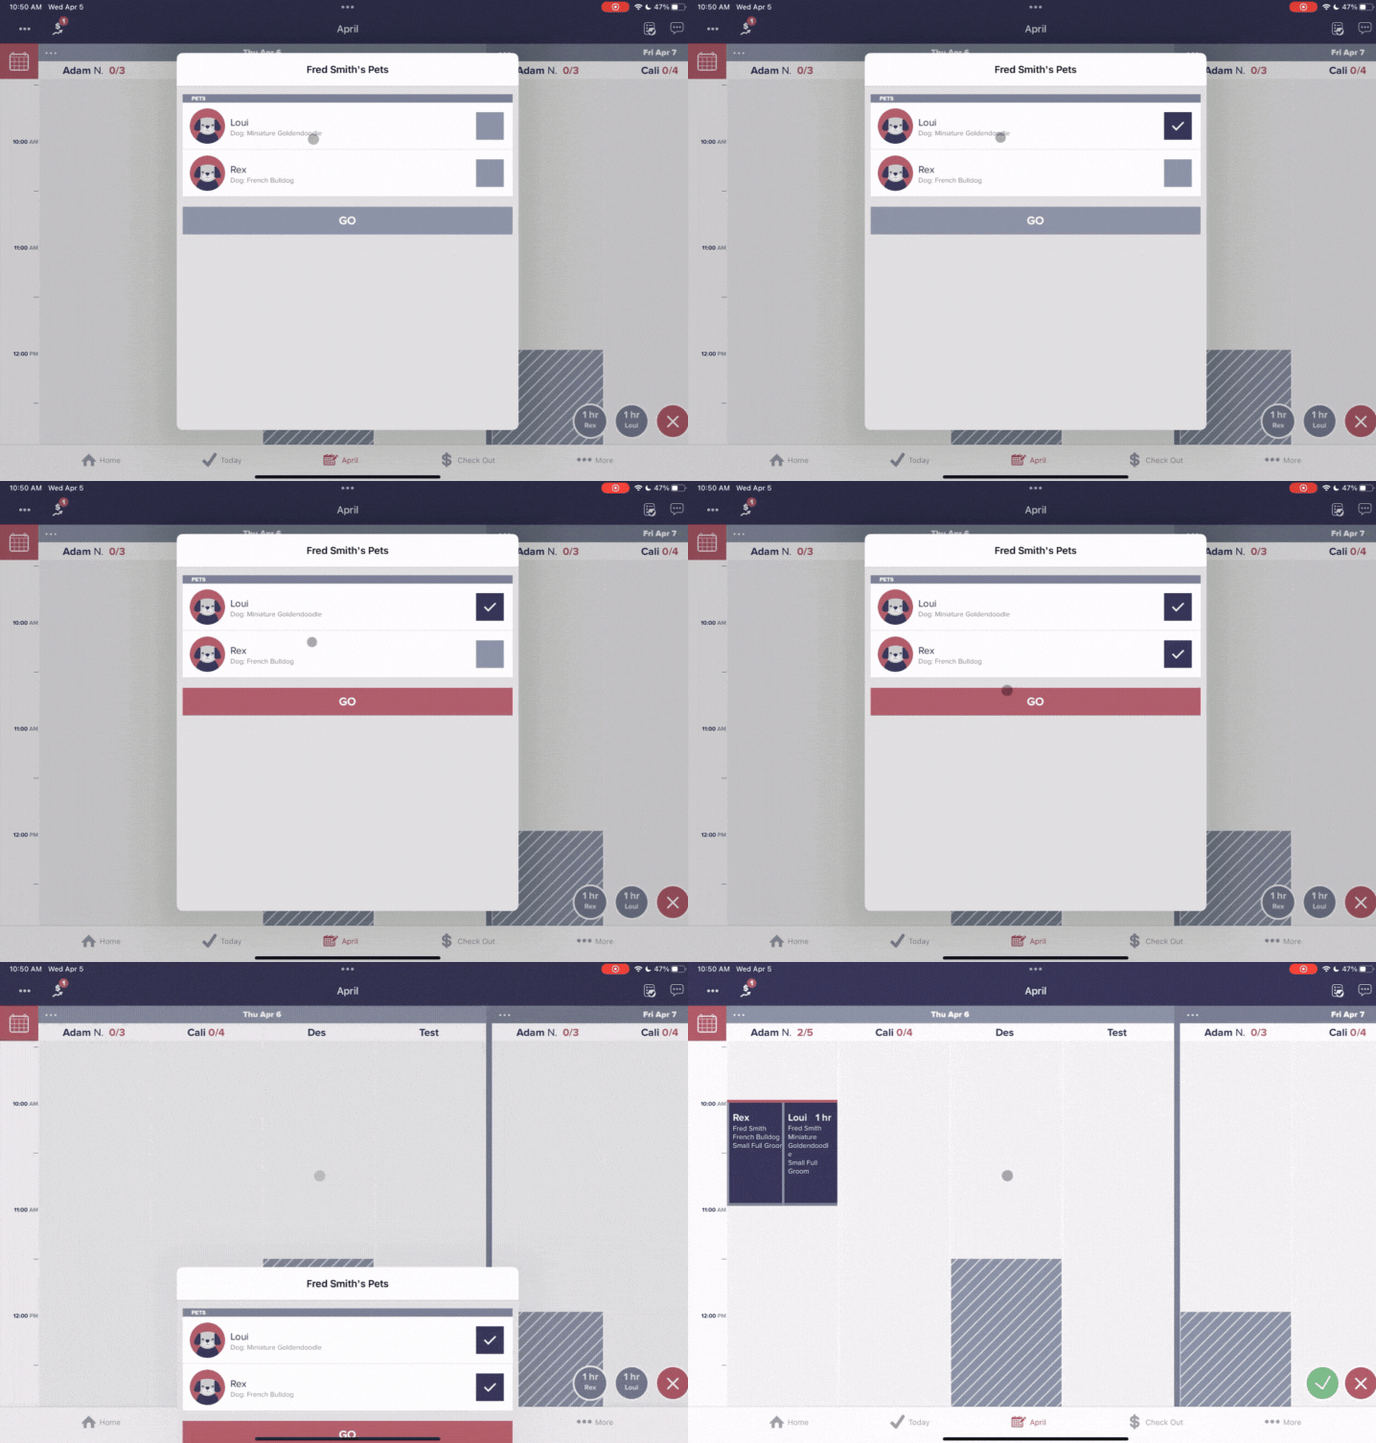
- Tap on the green check mark in the bottom right-hand corner
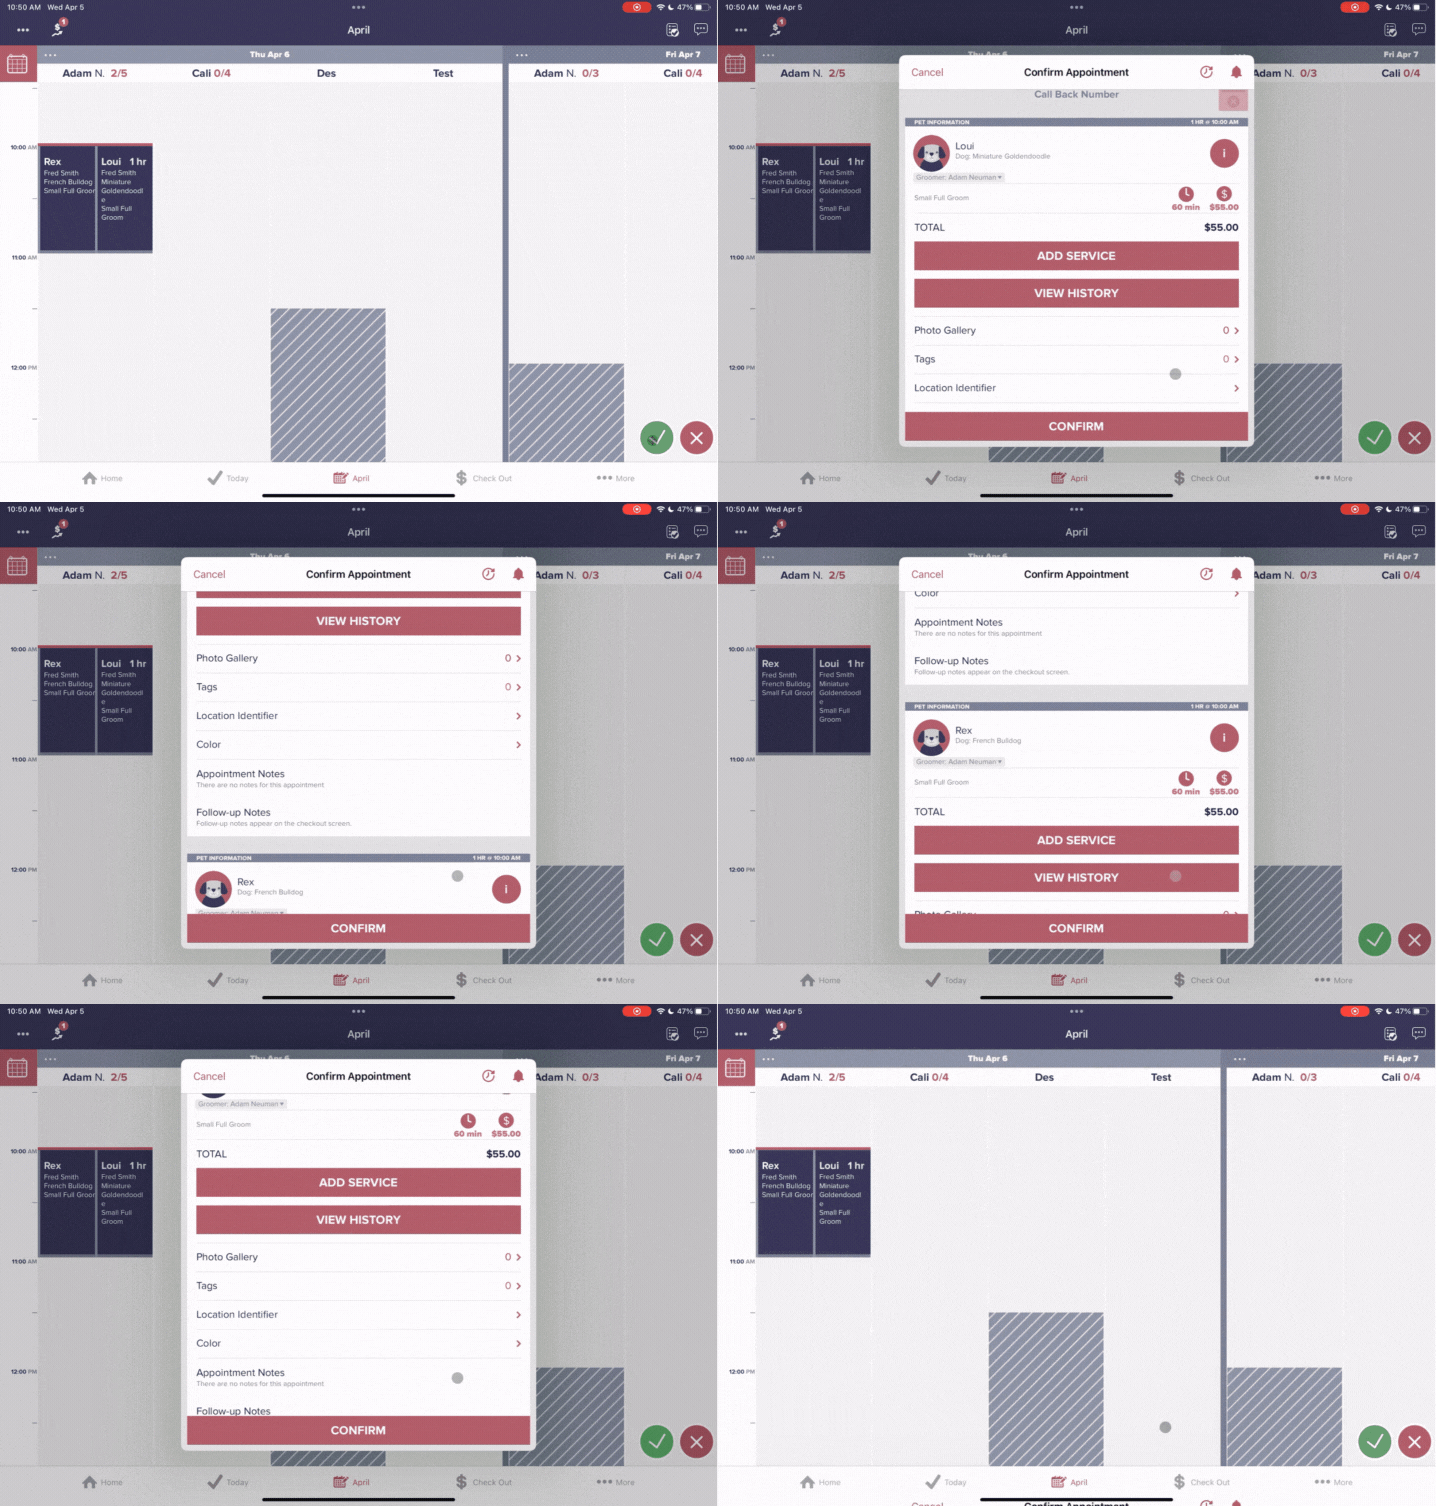
- Confirm all appointment details look correct and select "Confirm"
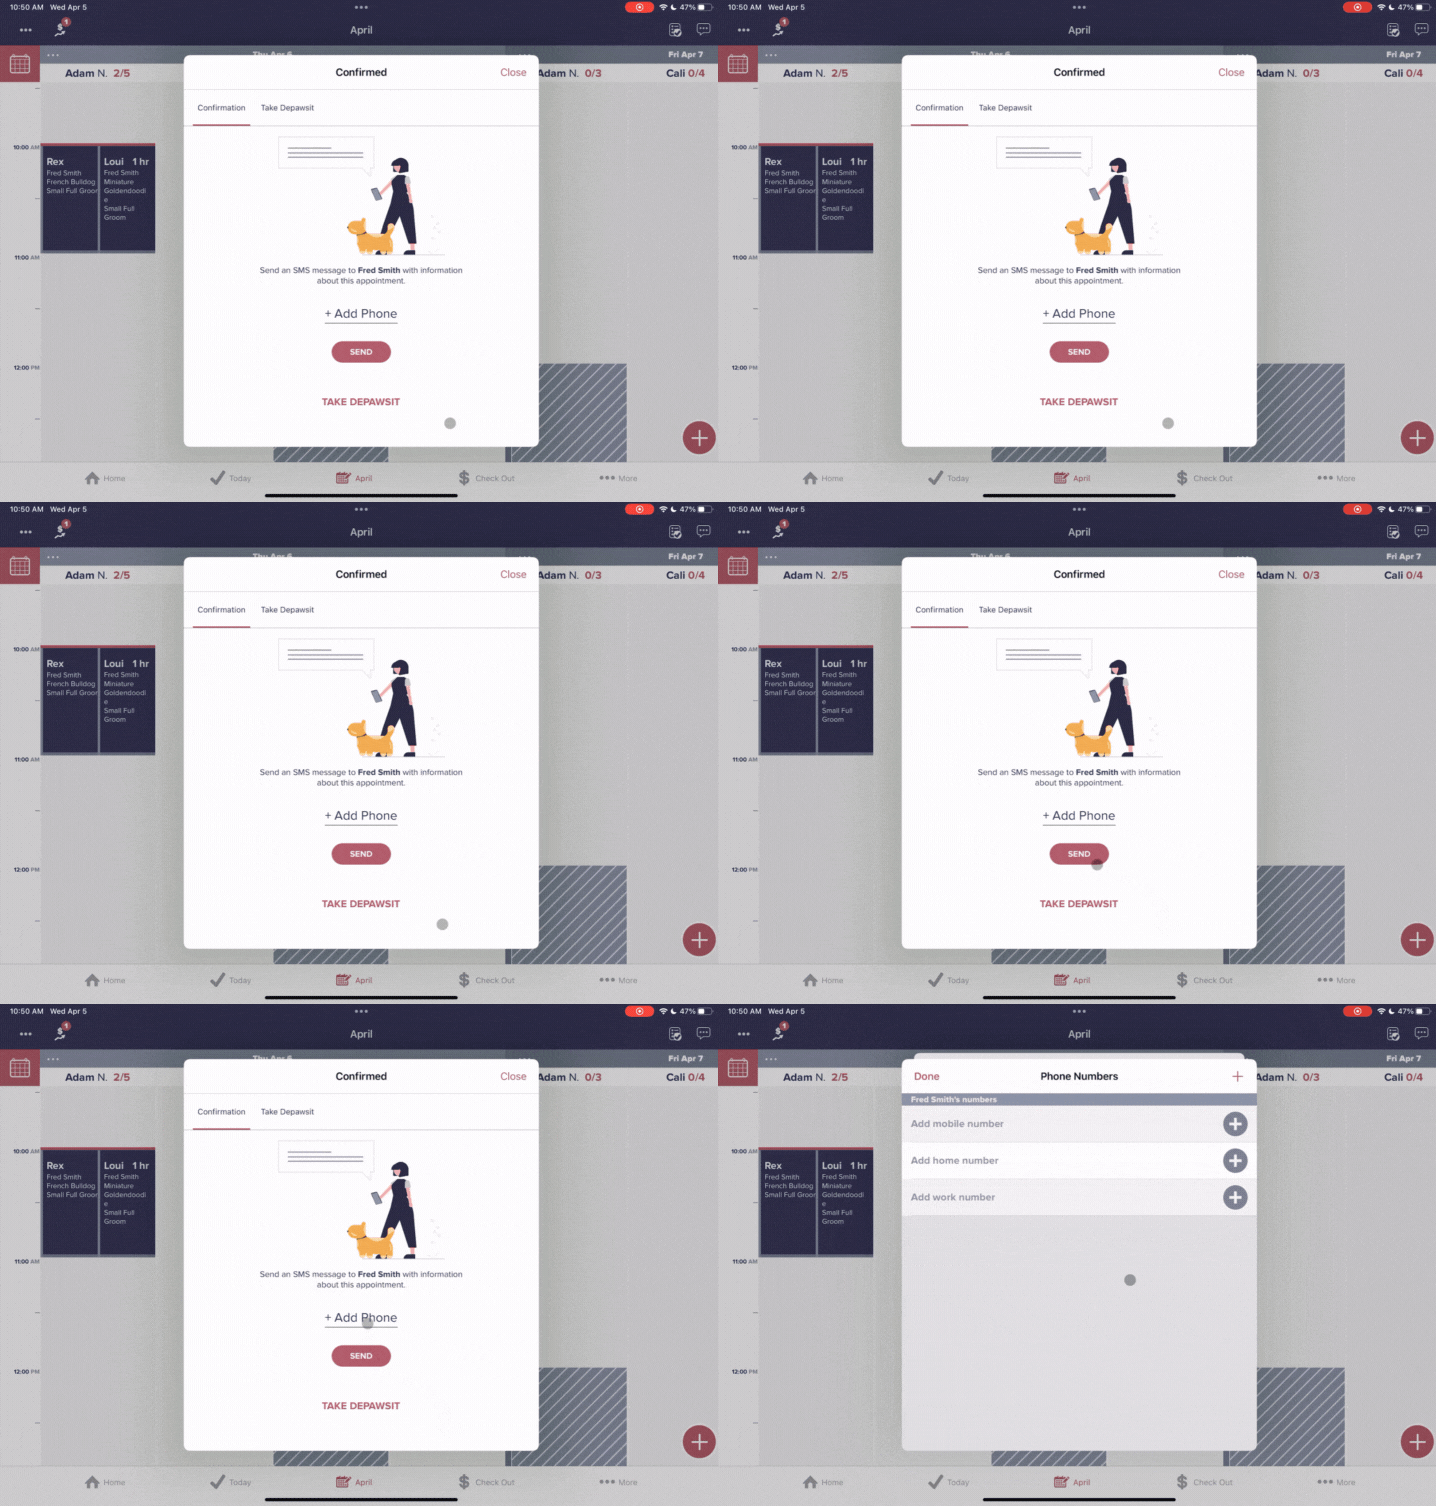
- Tap "Add Phone" to add a number for schedule confirmations, appointment reminders, and ready for pick-up calls and texts for this customer
- Select which type of phone number you will be adding
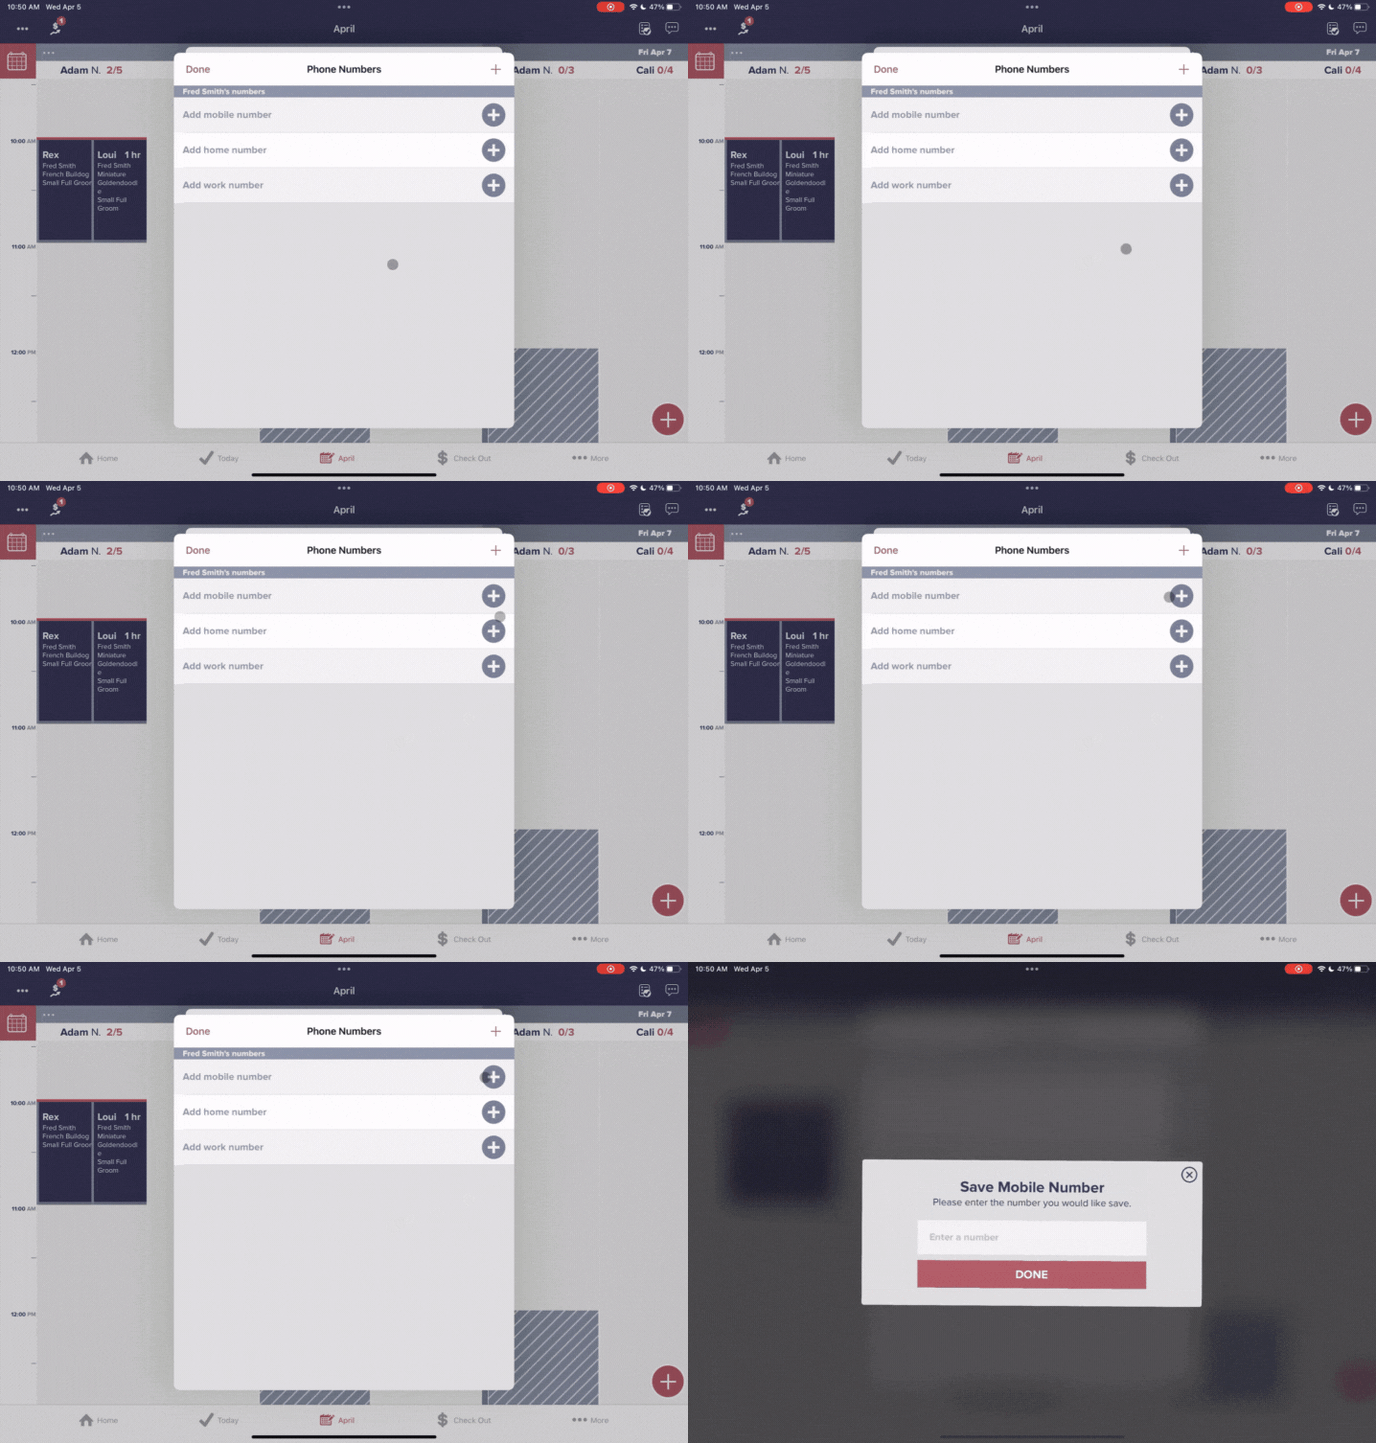
- Enter the customer's phone number and press "Done"
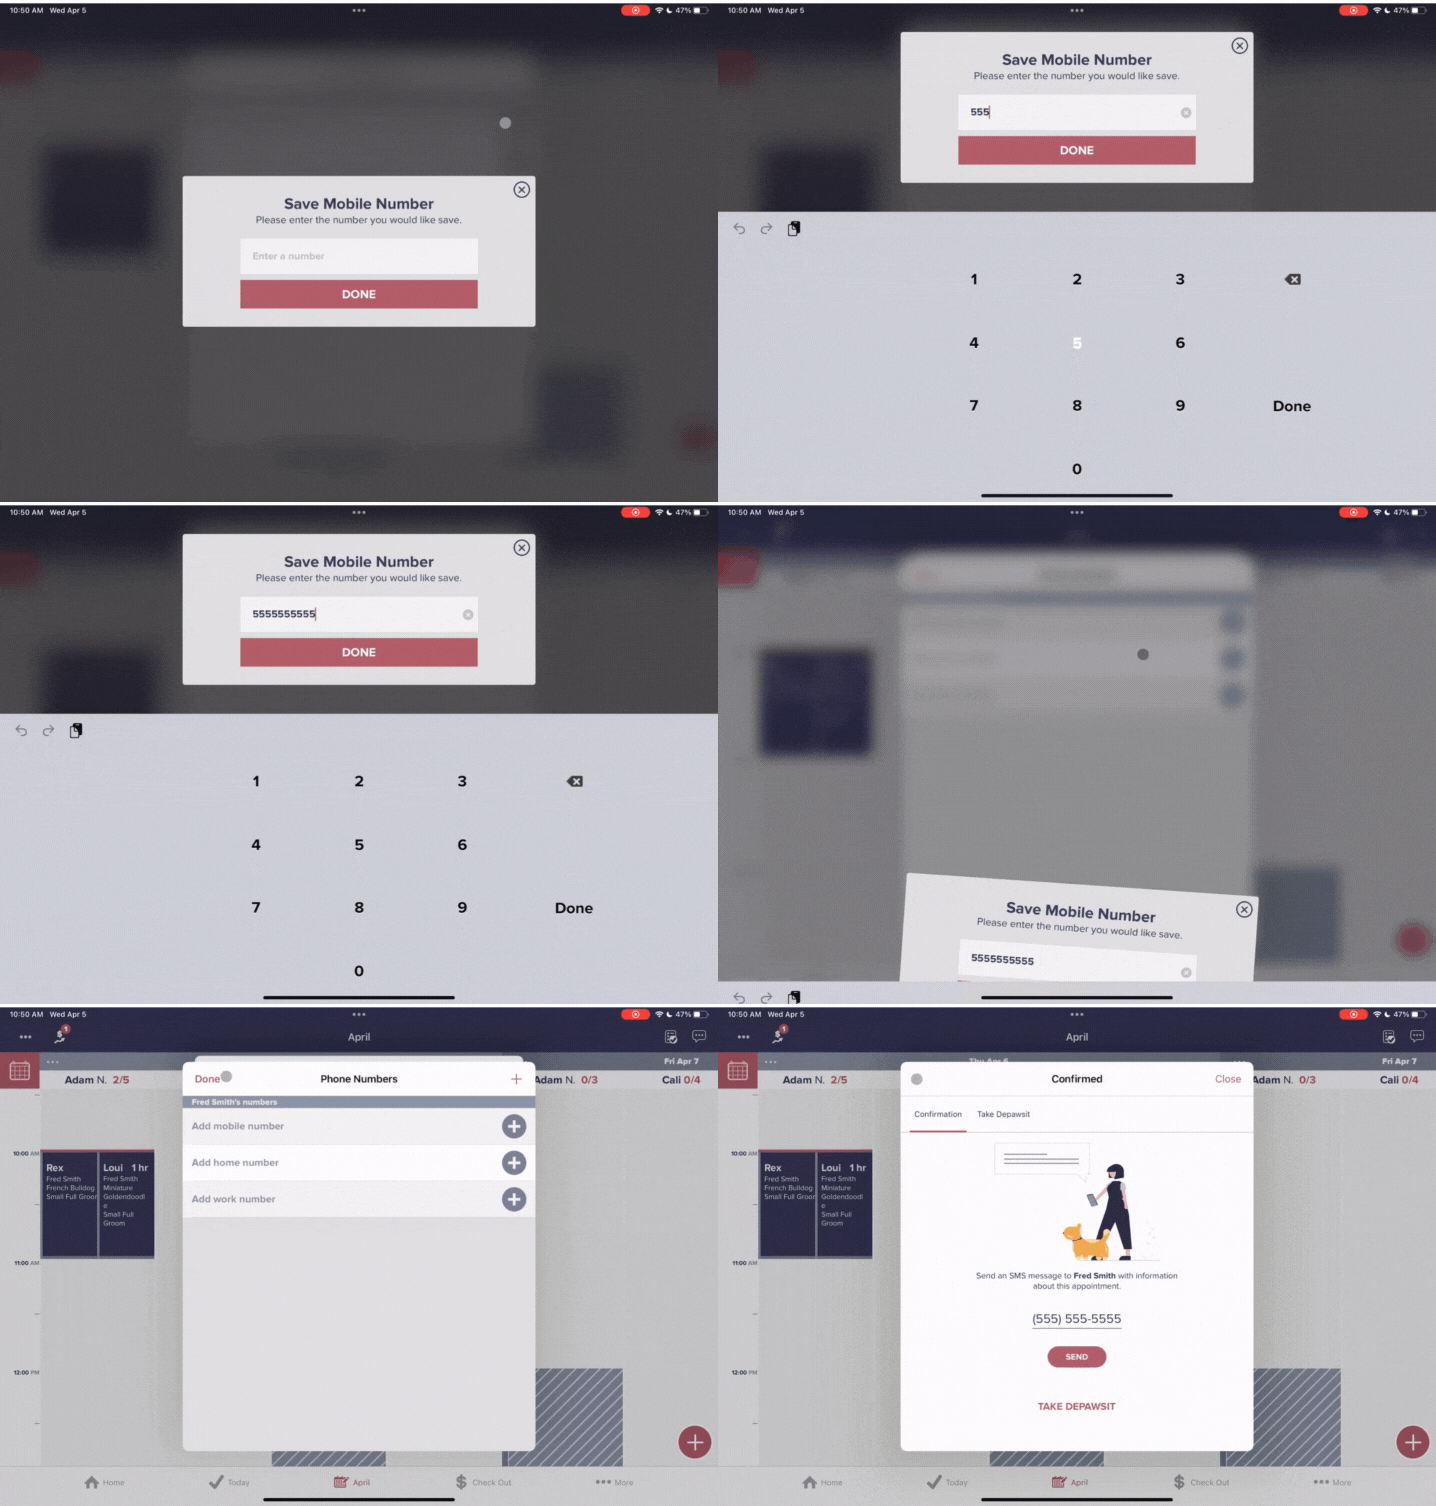
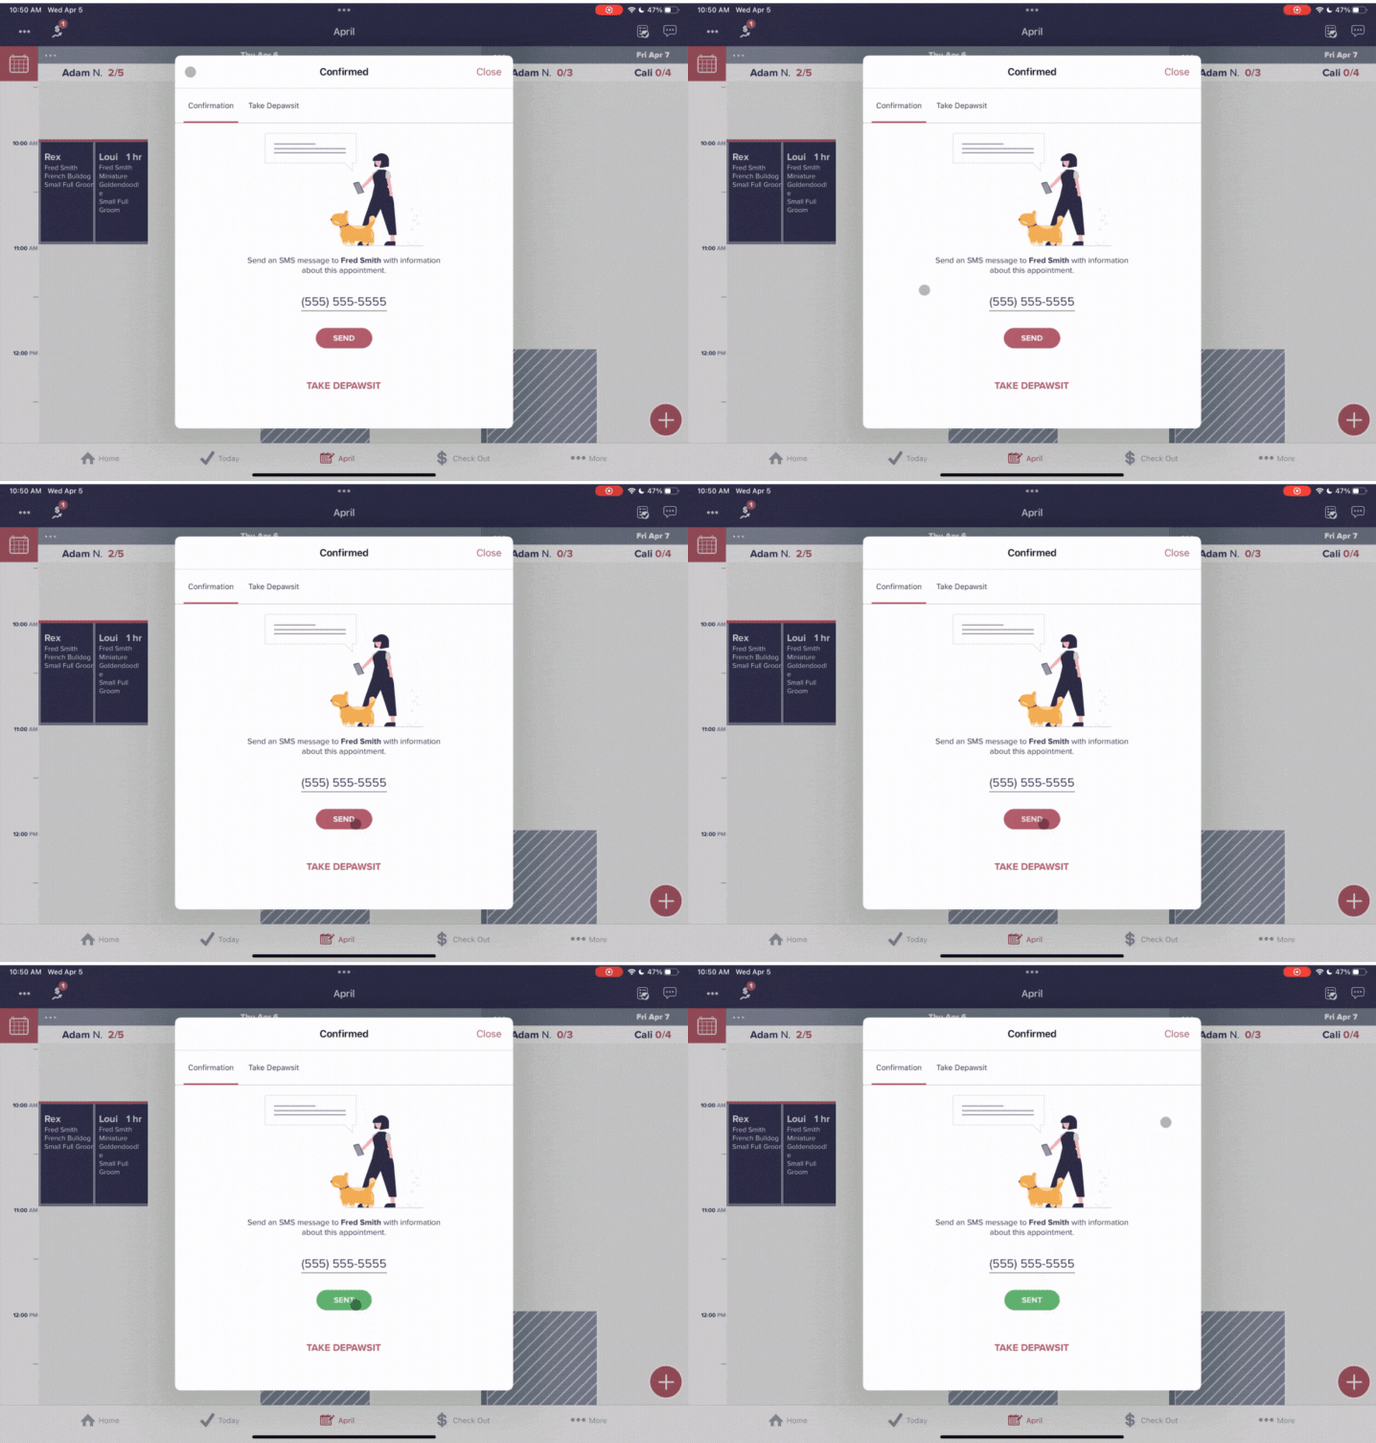
- Select "Send" to send the customer their schedule confirmation text 